The weekly plan
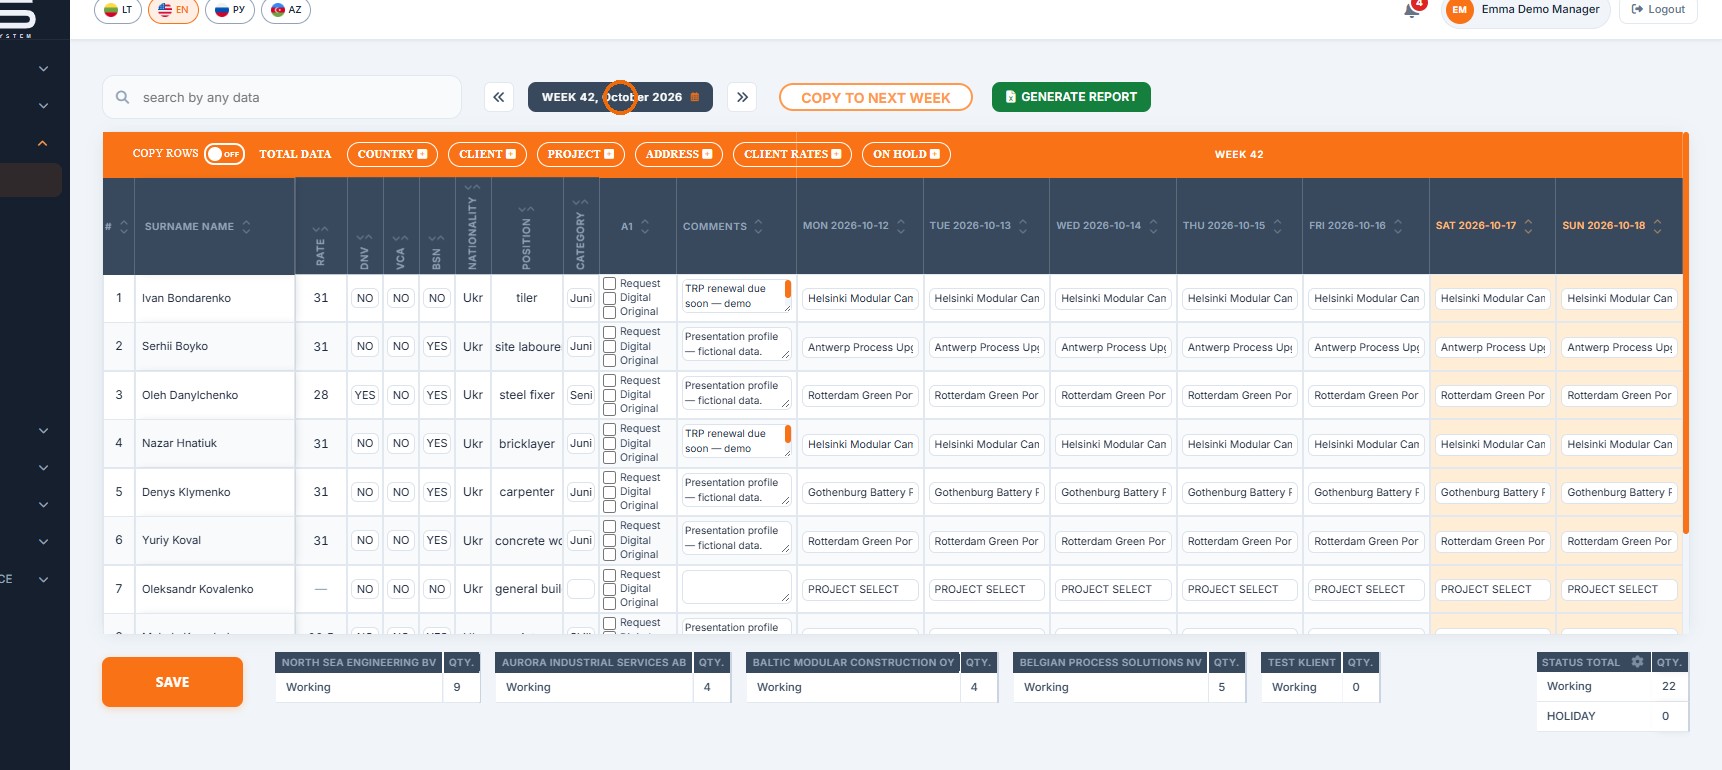
Open Planning > Project Planning. Each row is one worker; the left part holds personal and document data, the right part has one cell per day from Monday to Sunday. Weekend columns are shaded. The orange bar shows the current week number, and the TOTAL DATA buttons open the master-data editors used by the day cells.
Search any data
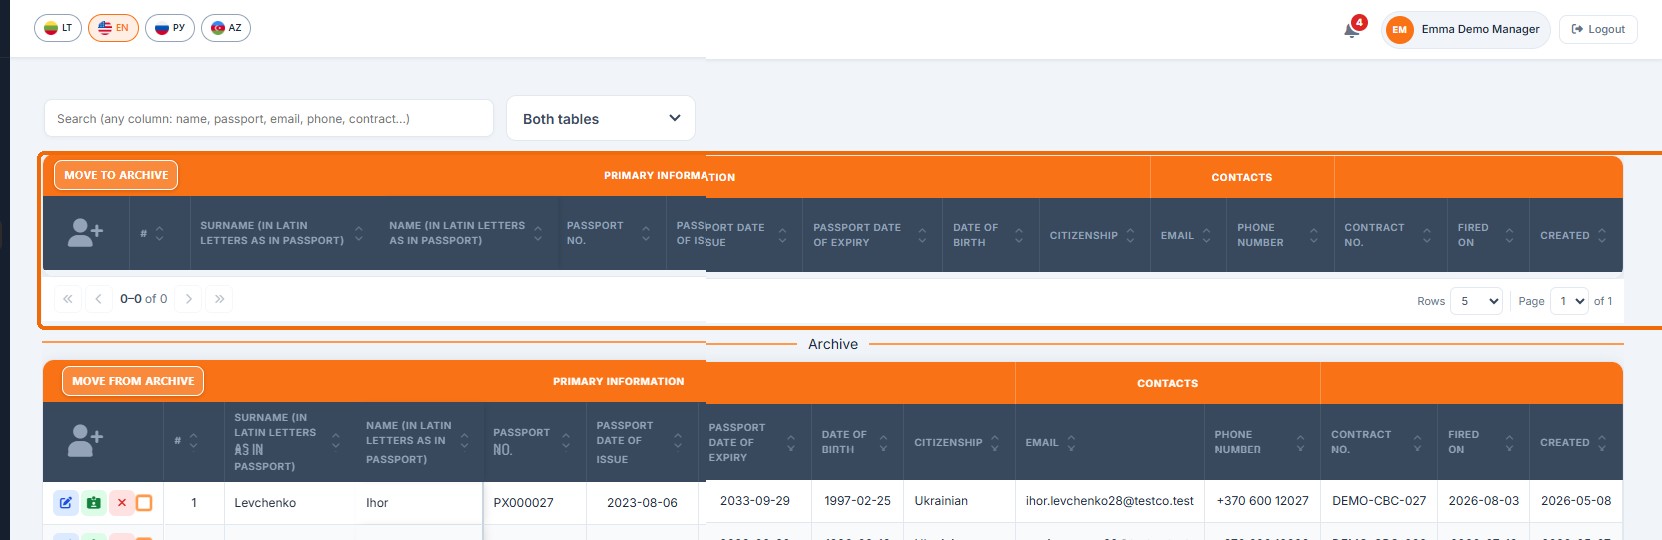
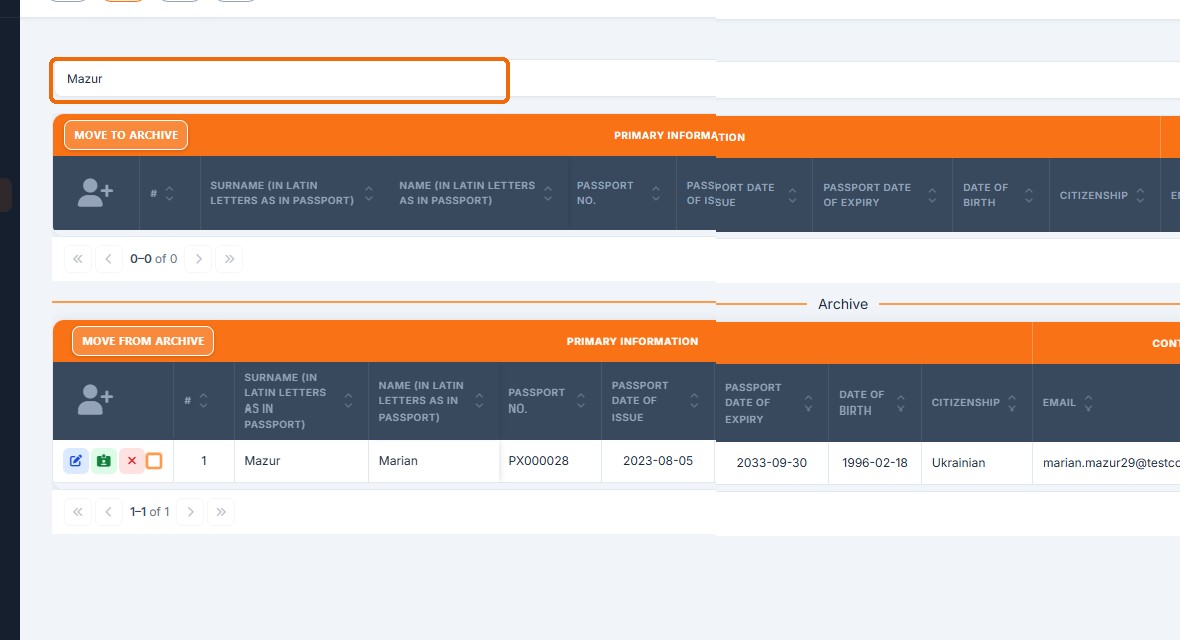
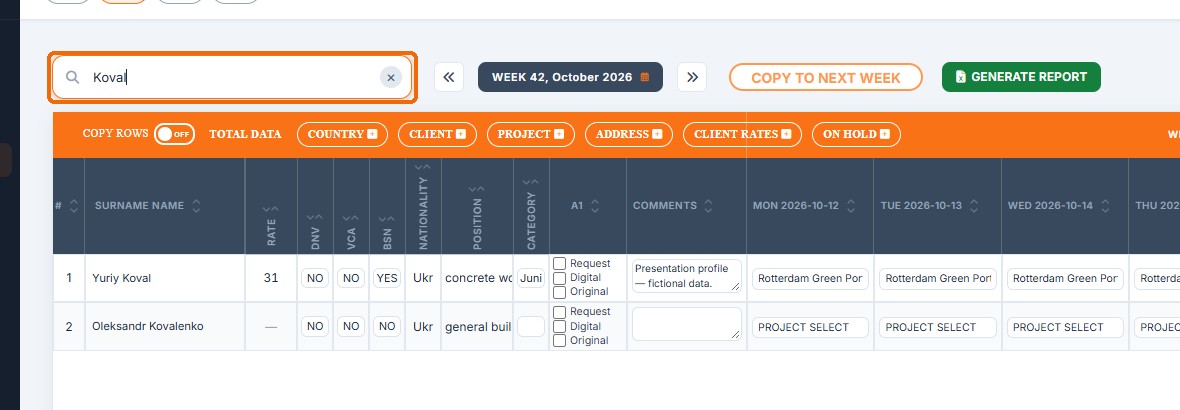
Type in the search box above the table. The plan filters as you type and matches names, positions, projects and other visible values. The address bar keeps the search, so the filtered view can be reloaded. Clear the box with the × button to show all workers again.
Move between weeks
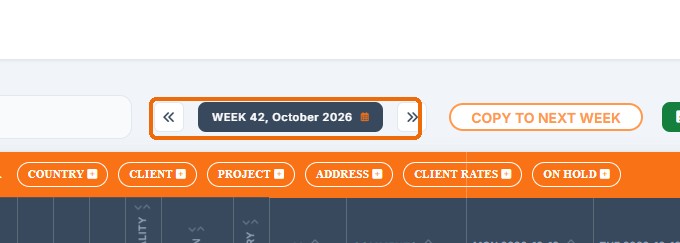
The « and » arrows load the previous or next week. The dark label between them shows the week number and month that is currently displayed. Save your edits before changing the week, because unsaved changes on the page are not carried over.
Jump to any week
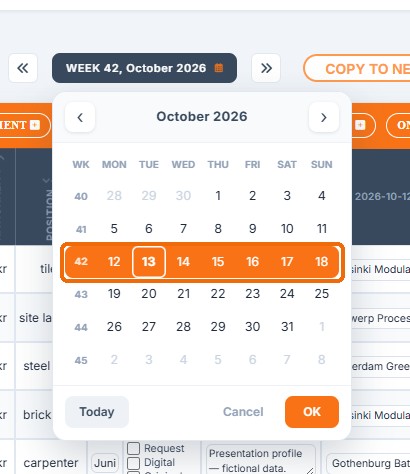
Click the week label to open the calendar. Week numbers are shown on the left and the selected week is highlighted in orange. Use the arrows to change month, click any day of the week you need, then press OK. Today returns to the current date and Cancel closes the calendar without changes.
Worker details
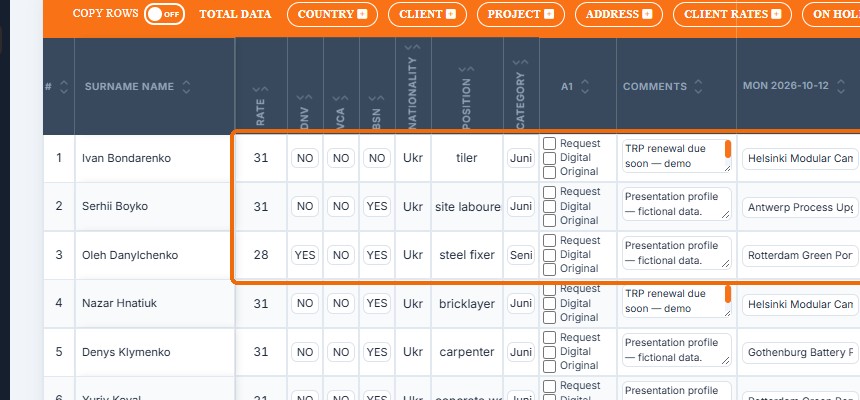
RATE shows the worker's hourly rate. DNV, VCA and BSN are YES/NO switches for the corresponding certificates or registrations. NATIONALITY, POSITION and CATEGORY describe the worker. The A1 column has Request, Digital and Original check boxes to track the A1 certificate, and COMMENTS holds a short free-text note for planners.
Sort the columns
Every column header has small up and down arrows. Click them to sort the table ascending or descending by that column, for example alphabetically by surname, by rate or by the project planned on a given day. The sort works together with search and pagination.

Plan a working day
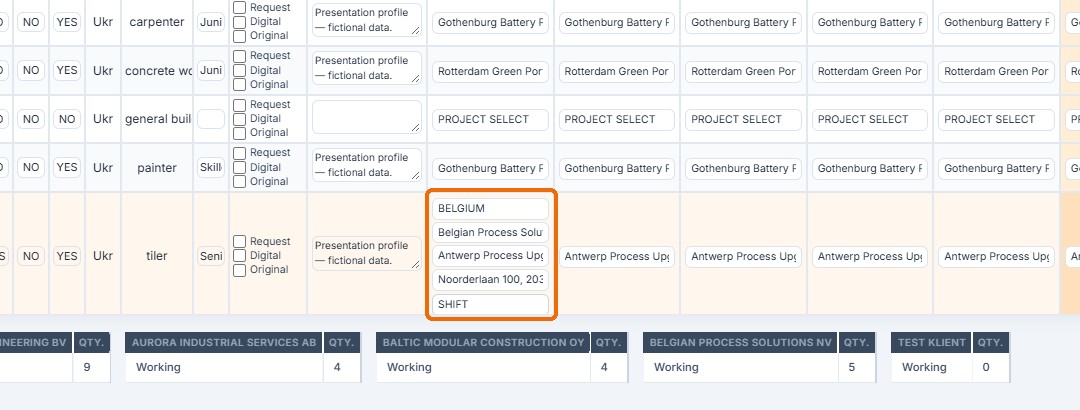
Point at or click a day cell to expand it. The cell then shows a chain of selectors: country, client, project, address and shift. Each choice narrows the next list, so only projects of the chosen client and addresses of the chosen project are offered. An empty cell shows PROJECT SELECT. Press SAVE to store the plan.
Copy rows
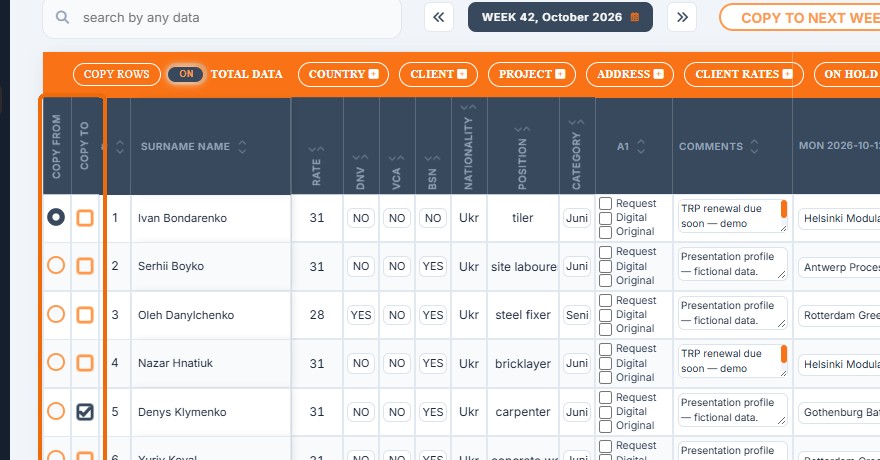
Switch COPY ROWS to ON to show two extra columns. Choose one worker in COPY FROM (round button) and tick one or more workers in COPY TO (square boxes). Clicking the COPY ROWS label then copies the source worker's week plan to all ticked workers. Switch it OFF to hide the copy columns again.
Copy to next week
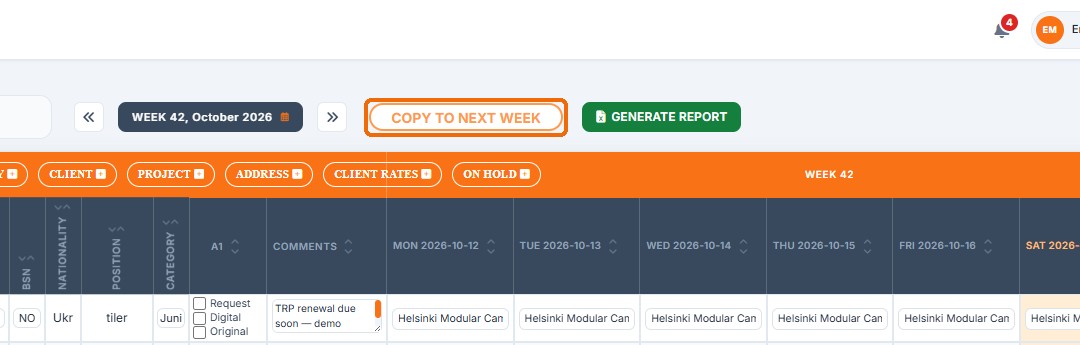
COPY TO NEXT WEEK copies the whole plan of the displayed week into the following week. Use it when most people continue on the same projects, then open the next week and adjust only the changes. Check the target week afterwards; this tutorial explains the button without running it on the demo data.
Save your changes
Changes in day cells, switches, A1 boxes and comments stay on the page until you press SAVE. Save before you change the week, open another page or reload, otherwise unsaved edits are lost. After saving, the totals below the table are recalculated.

Live totals
Below the table, one small table per client shows how many people work for that client in the displayed week. STATUS TOTAL on the right sums all statuses for the whole organization, for example Working and HOLIDAY. The figures follow the saved plan.

Choose shown statuses
Click the gear icon in the STATUS TOTAL header. Tick the statuses that should appear in the STATUS TOTAL table for your organization and press SAVE. People are counted on the Friday of the displayed week. New ON HOLD options appear in this list automatically.

Manage master data
The TOTAL DATA buttons in the orange bar open editors for the lists used in planning: COUNTRY, CLIENT, PROJECT, ADDRESS, CLIENT RATES and ON HOLD. Changes made there become available in the day-cell selectors after saving.

Countries
The COUNTRY editor lists the countries available for clients and projects. Type a name in the empty row and press + to add it; use - to remove a country that is no longer needed. Press SAVE to apply the changes.

Clients
The Client editor lists all clients. Type a new client name in the last row and press + to add it, or use - to remove an unused client. Press SAVE to apply. Clients appear in the CLIENT selector of every day cell.

Projects
The PROJECT editor groups projects under each client. Every project has a country. Type a new project name, choose its country and press + to add it, or - to remove the row. The box icon archives a finished project so it no longer appears in planning lists while history is kept.

Archived projects
ARCHIVED PROJECTS at the bottom of the editor shows projects that were archived, so they can be reviewed or restored. Press SAVE to apply all project changes made in this window.

Project addresses
The ADDRESS editor lists every project with its site addresses. A project can have several addresses. Type a new address and press + to add it; use the box icon to archive an old address. ARCHIVED ADDRESSES shows archived ones. Press SAVE to apply.

ON HOLD options
ON HOLD options are statuses used instead of a project, such as HOLIDAY or HOLIDAY ARRIVAL. Each option has a colour used in the plan. Type a new option name and press +, pick its colour, or remove it with -. Press SAVE to apply.

Client rates
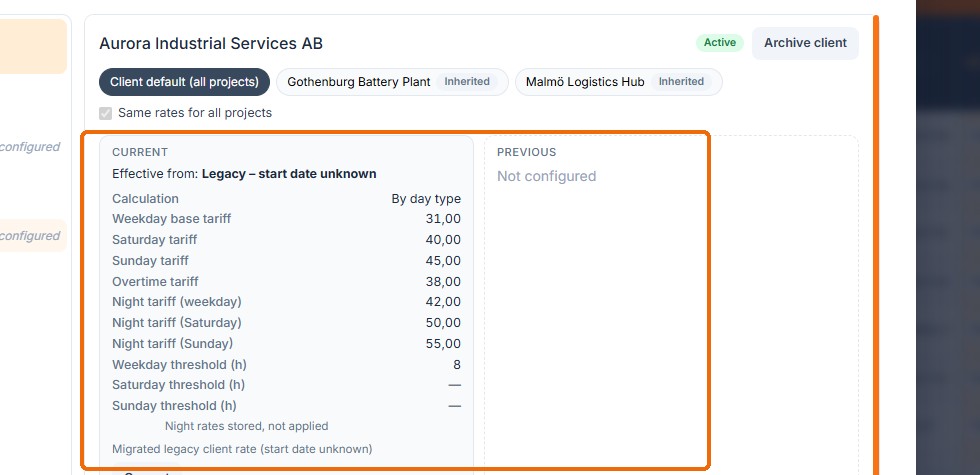
CLIENT RATES lists each client with its current rate and the date it applies from. Use Search to find a client, tick Include archived clients to see archived ones, + Rate-only client to add a client that holds rates only and is never offered in planning, and Tariff-history report to export rate versions for a period.

Tariff details
Select a client to open its tariffs. Client default applies to all projects unless a project has its own rate; project chips show Inherited when they use the default. CURRENT lists weekday, Saturday, Sunday, overtime and night tariffs and hour thresholds; PREVIOUS shows the earlier version. Archive client hides a client from planning.
Generate a report
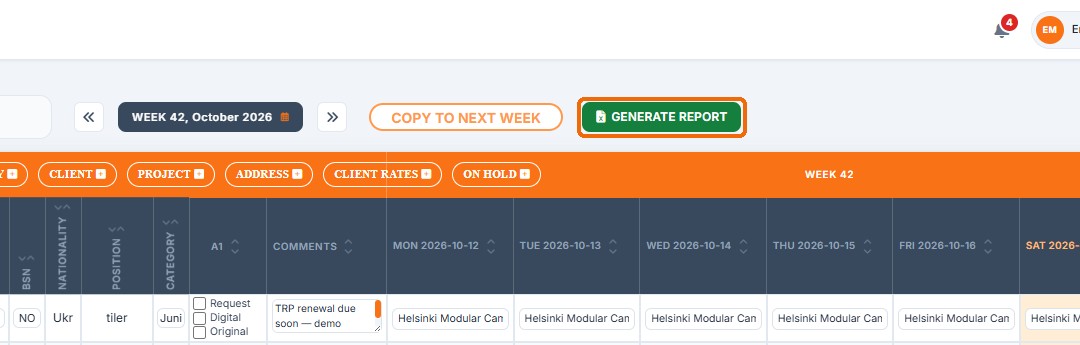
GENERATE REPORT opens the planning report window. The report is exported as an Excel file built from the saved planning data.
Report settings
In WEEKS, click one or more week buttons to include them; use the arrows to show earlier or later weeks. The line below counts the selected weeks. Each selected week is written to its own sheet in the Excel file.

Download the report
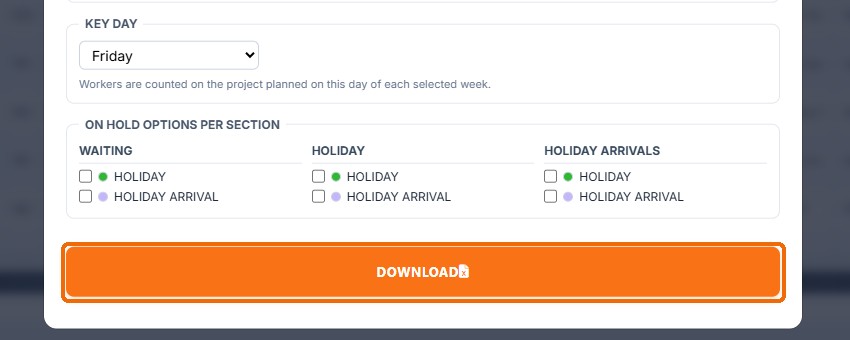
KEY DAY decides on which day of each week workers are counted on their planned project (Friday by default). ON HOLD OPTIONS PER SECTION chooses which ON HOLD statuses are listed in the Waiting, Holiday and Holiday arrivals sections. Press DOWNLOAD to create the Excel file.
Pages and rows
The pager under the table shows which workers are displayed (for example 1–10 of 23). Use the arrows to move to the first, previous, next or last page. Rows sets how many workers appear per page and Page jumps directly to a page number.